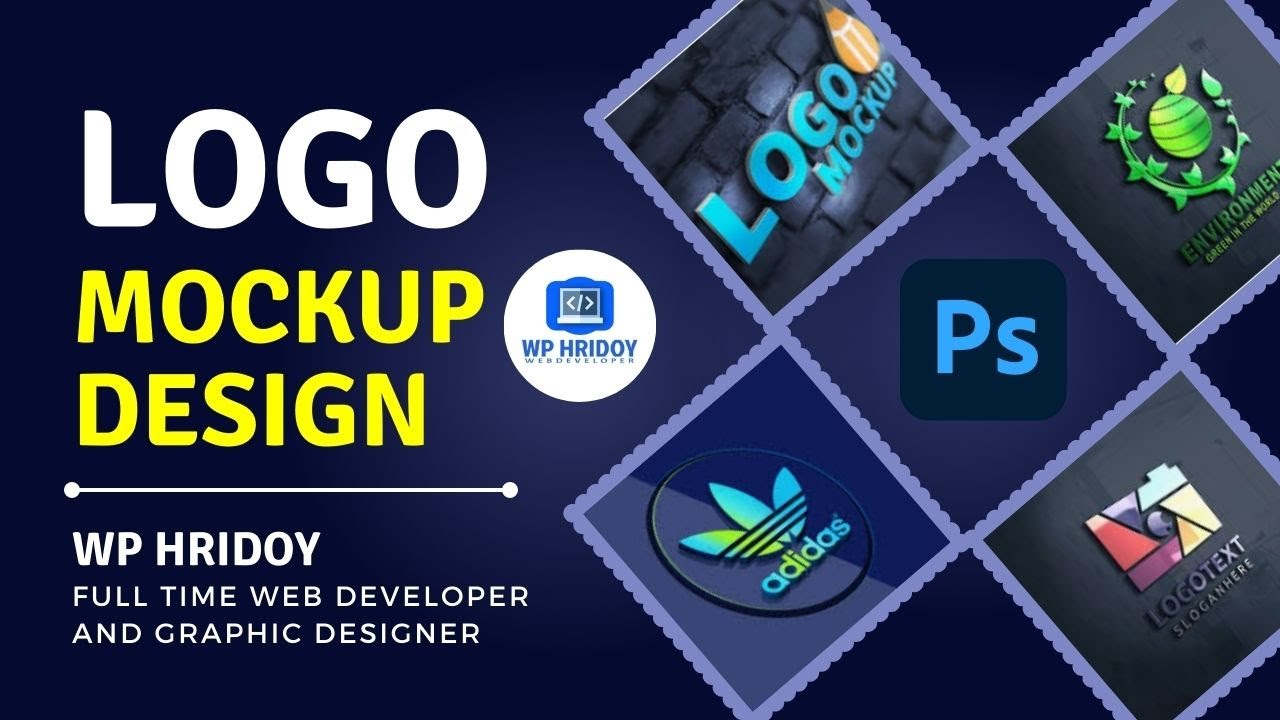
How to Design a 3D Logo Mockup in Photoshop CC (Free PSD Download)
A beginner-friendly guide to creating a professional 3D logo mockup in Adobe Photoshop CC — Wp Hridoy Logo Mockup Free Download || 3D Logo Mockup Design tutorial Photoshop CC
On this page
A logo mockup is one of the fastest ways to make a brand look polished and professional. Instead of showing a flat logo on a white background, a 3D mockup places it on a realistic surface — a wall, a signboard, an embossed card — so clients instantly feel the brand. In this guide I'll show you exactly how to design a 3D logo mockup in Adobe Photoshop CC, including where to grab free PSD files and how to swap in your own logo without breaking the effect.
What Is a Logo Mockup?
A logo mockup is a pre-made Photoshop template (usually a .PSD file) that already contains the lighting, shadows, texture, and 3D perspective of a scene. Your only job is to place your logo inside a smart object — Photoshop then wraps it onto the surface with all the realism baked in.
That means you don't need to be a 3D artist. If you can open a file and paste an image, you can produce a studio-quality presentation.
Where to Download Free 3D Logo Mockups
The easiest way to find quality mockups is a simple Google search for "logo mockup design free download". You'll get hundreds of options for walls, glass, metal, paper, and neon signs.
A few reliable places to start:
- GraphicsFamily — a large library of free, high-quality mockup PSDs
- Freepik — free with attribution, huge variety of 3D scenes
- Behance & Dribbble — designers often share free mockups in their projects
Tip: Download a mockup with a smart object layer (most good ones have it). That single feature is what makes swapping your logo a 10-second job.
Step-by-Step: Editing Your Logo Mockup
Once you've downloaded a mockup you like, here's the full workflow:
- Download the PSD file from a resource site like GraphicsFamily.
- Open it in Photoshop — any recent version of Adobe Photoshop CC works fine.
- Find the smart object layer in the Layers panel (it usually has a name like "Your Logo Here" or "Place Your Design").
- Double-click the smart object thumbnail. A new tab opens showing a blank canvas.
- Paste or place your logo into that canvas, size it to fit, then Save (
Ctrl + S/Cmd + S). - Return to the main document — your logo is now wrapped onto the 3D surface with the original shadows and lighting.
- Export with
File → Export → Export As(choose PNG or JPG).
That's the whole process. The smart object does the heavy lifting.
Tips for a Professional Result
- Match the logo color to the scene. If the mockup has warm lighting, a pure-white logo can look flat — nudge it slightly toward the scene's tone.
- Keep transparency. Export your logo as a transparent PNG so only the mark blends onto the surface, not a white box.
- Respect the shadows. Don't delete the mockup's shadow/highlight layers — they're what sell the 3D illusion.
- Use high resolution. Start with a logo that's at least 1000px wide so it stays crisp when scaled.
You can Watch This Video:
Final Thoughts
A good 3D logo mockup instantly raises how professional your brand looks — and with free PSD templates plus Photoshop's smart objects, you can create one in minutes. Start with a clean mockup, drop your logo into the smart object, and export.
If you'd like a custom logo, brand kit, or a website to match, I build them end-to-end. I'm Wp Hridoy, a full-stack web developer and WordPress expert — feel free to reach out.
Have a project in mind?
Just tell me what you need, and I will tell you honestly what it takes — how long, how much, and whether I am the right person for it.
This is my full-time profession, not a side job. After completing your project, I will not disappear. You will get lifetime support. I will even join Zoom or Google Meet calls with you to help fix any problems, if needed. Hope you will be happy with the work, InshaAllah.
More on Photoshop
View all articles
How to Upload a File to Google Drive and Share a Link
A simple, step-by-step guide to uploading files and folders to Google Drive using every method — web, drag-and-drop, and desktop — then sharing a public or private link the right way.
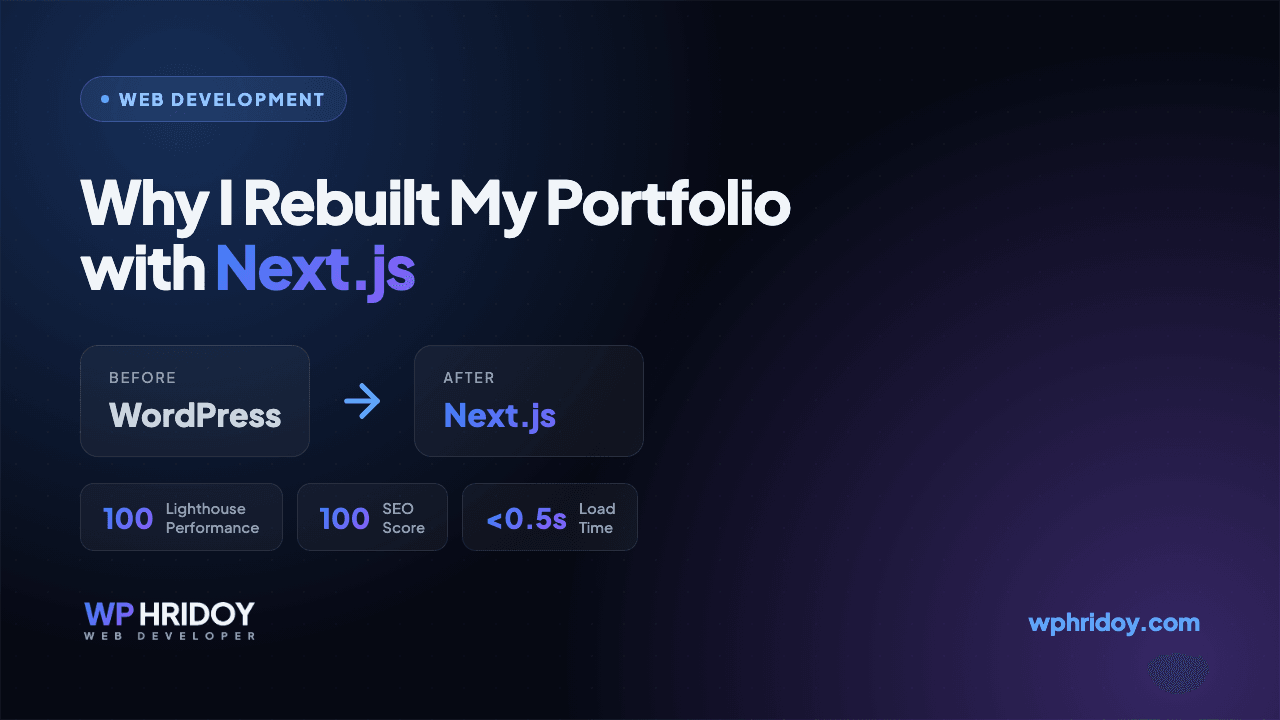
Why I Rebuilt My Portfolio with Next.js
I am Wp Hridoy. My own portfolio was on WordPress. Here's why I rebuilt it with Next.js, and what I got out of it.

Getting Started with WordPress Development
A practical guide for anyone looking to start building custom WordPress websites — from setting up your environment to your first theme.